-
Click Content Filter tab in the Reports screen.
-
The Content Filter tab enables the user to view reports about the Content Filtering rules set by the user for the selected organization. Content filtering rules can be set when creating Traffic Policies using the Edge Portal. These rules enable the user to block traffic to Adult, Malicious and Gambling websites/applications/domains.
-
Users can view the following information in the Content Filter tab:
-
The Site that received the maximum number of hits
-
The User that received the maximum number of hits
-
The Category of websites/applications that received the maximum number of hits
-
The Domain that received the maximum number of hits
-
-
In the Organization field, select the Organization or sub-organization from the dropdown menu. The logged in admin Organization is populated by default here. This is the organization corresponding to the email ID used to login.
-
The dropdown list consists of all the sub-organizations under logged in admin organization.
-
Select the Sites from the dropdown menu.
-
Select the Period from the dropdown menu.
-
By default, the period selected is 7 Days. The start and end of the selected period are shown next to the Period dropdown.
-
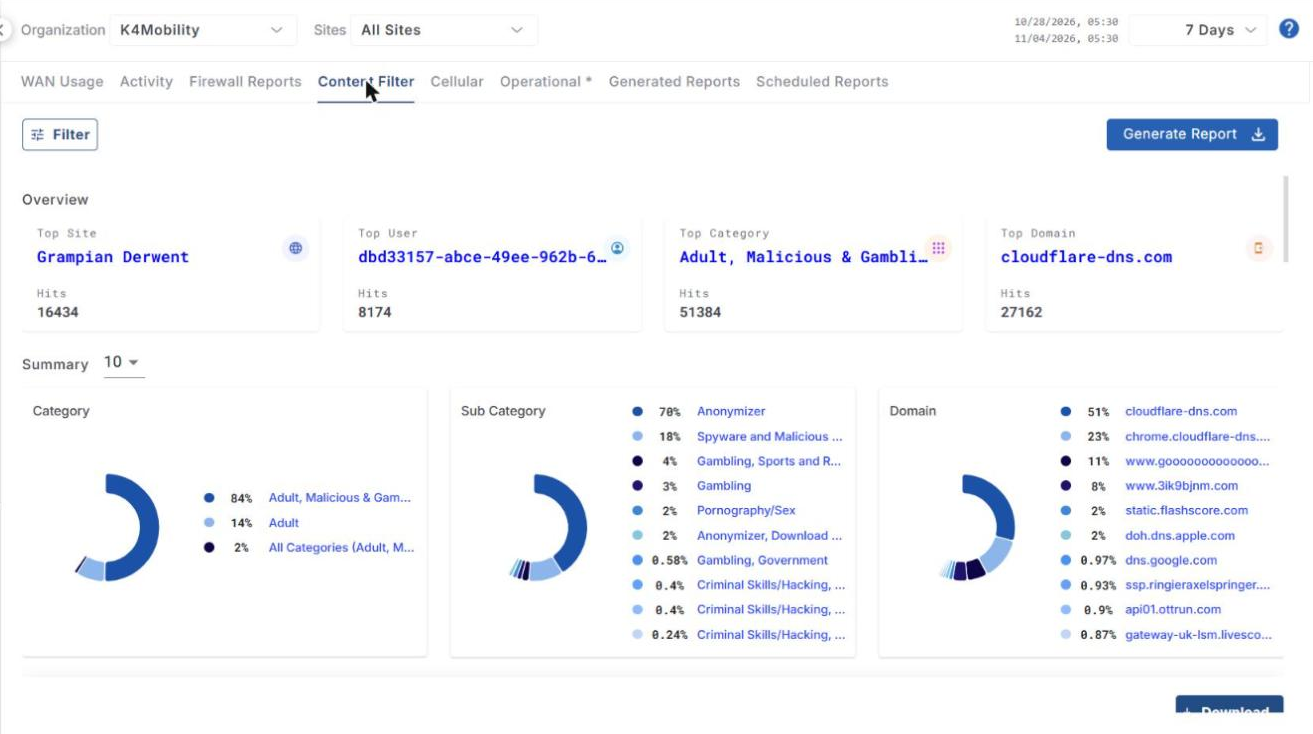
The Content Filter tab shows the data as shown in the below figure.
-
Click the Generate Report button to download the Content Filter reports.
Overview
The headers show the following information:
-
Top Site - The Site that received the maximum number of hits. The Site name and number of hits is also shown.
-
Top User - The User that received the maximum number of hits. The number of hits is also shown.
-
Top Category - The Category of content that received the maximum number of hits. The number of hits is also shown.
-
Top Domain - The Domain that received the maximum number of hits. The number of hits is also shown.

Summary
The Summary section shows pie charts that group the Content filtering rules set by the users into Category, Sub Category & Domains. These pie charts shows the percentage of hits received by each category. Hovering on any item on the pie chart highlights the category and shows number of hits received in that category.
Click the dropdown menu at the top left corner of the Summary section to change the number of entries in the pie charts.
Hits Per Day
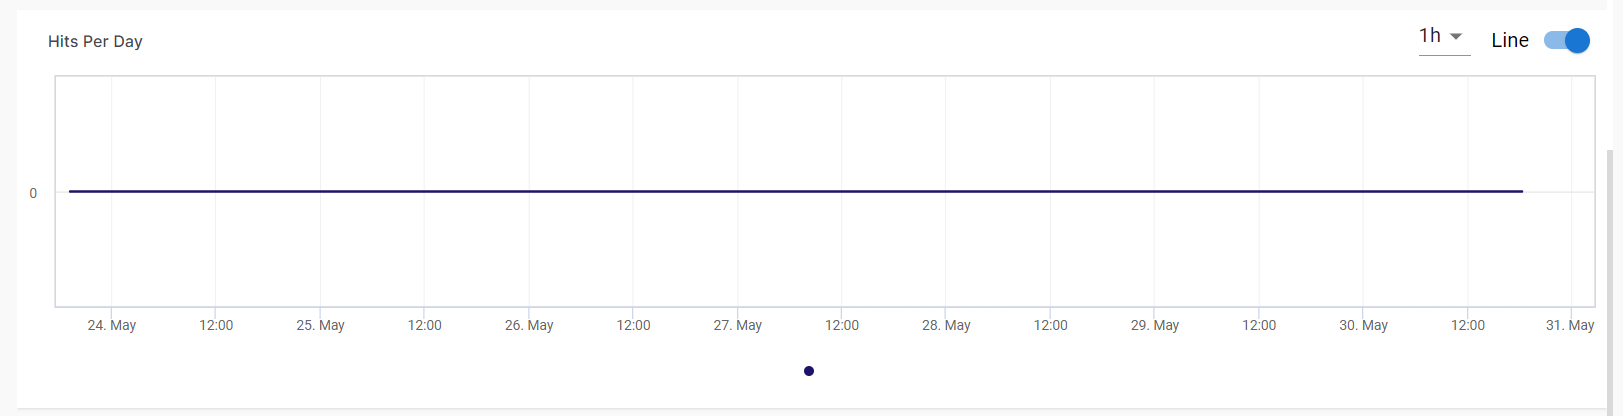
The Hits Per Day shows a line chart that depicts the number of hits generated at different time instances. The horizontal axis contains the time instances, and the vertical axis contains the number of hits. The graph between these two axes gives the user a clear understanding of how the content filtering rules have performed over the selected time period.
Click the dropdown menu at the top right corner of the chart to change the time interval on the chart.
Top Sites
The Top Sites section shows a table that lists all the sites under the selected organization along with the following information:
-
Site Name - Name of the site
-
Hits - Number of hits received through content filtering rules
-
Top Users - The user that received the maximum number of hits in each site
-
Top Category - The category that received the maximum number of hits in each site
-
Top Sub Category - The sub category that received the maximum number of hits in each site
-
Top Domains - The domain that received the maximum number of hits in each site
-
Click the dropdown menu at the top left corner of the Top Sites table to change the number of entries in the table.

Top Users
The Top Users section shows a table that lists all the users under the selected organization along with the following information:
-
Device Alias - Alias name of the user’s device
-
Client - Client name
-
MAC Address
-
Site Name
-
Device Name
-
VLAN
-
Top Category - The category that received the maximum number of hits for the user
-
Top Sub Category - The sub category that received the maximum number of hits for the user
-
Top Domains - The domain that received the maximum number of hits for the user
-
Hits - Number of hits received by the user through content filtering rules
-
Click the dropdown menu at the top left corner of the Top Users table to change the number of entries in the table.

Top Category
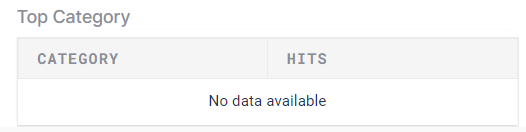
The Top Category section shows a table that lists all the categories that received the maximum number of hits for the selected organization.
Click the dropdown menu at the top right corner of the tables to change the number of entries in the table.
Top Sub Category
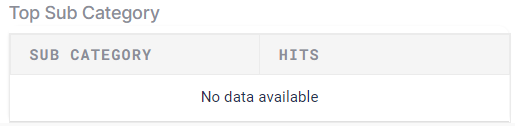
The Top Sub Category section shows a table that lists all the sub categories that received the maximum number of hits for the selected organization.
Click the dropdown menu at the top right corner of the tables to change the number of entries in the table.
Top Domain
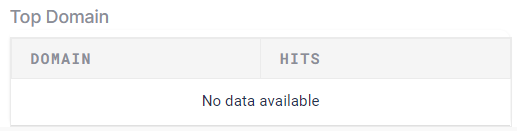
The Top Domain section shows a table that lists all the domains that received the maximum number of hits for the selected organization.
Click the dropdown menu at the top right corner of the tables to change the number of entries in the table.
Filter
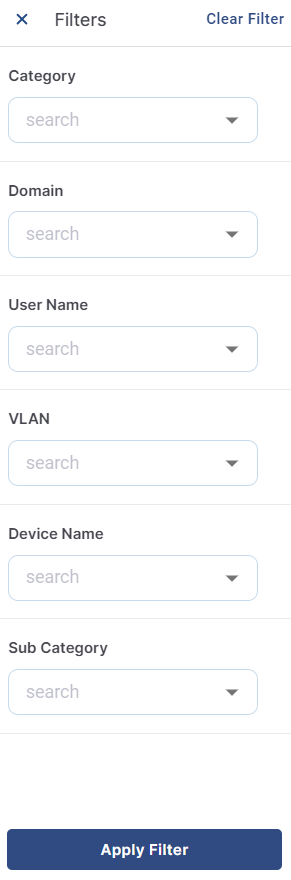
The Filter button can be used to filter the Content Filter reports screen based on the following categories.
-
Select the Category from the dropdown menu.
-
Select the Domain from the dropdown menu.
-
Select the User Name from the dropdown menu.
-
Select the VLAN from the dropdown menu.
-
Select the Device Name from the dropdown menu.
-
Select the Sub Category from the dropdown menu.
-
Click Apply Filter button to filter the Content Filter reports screen and show the data usage corresponding only to the options selected in the filters.
Generate Report
-
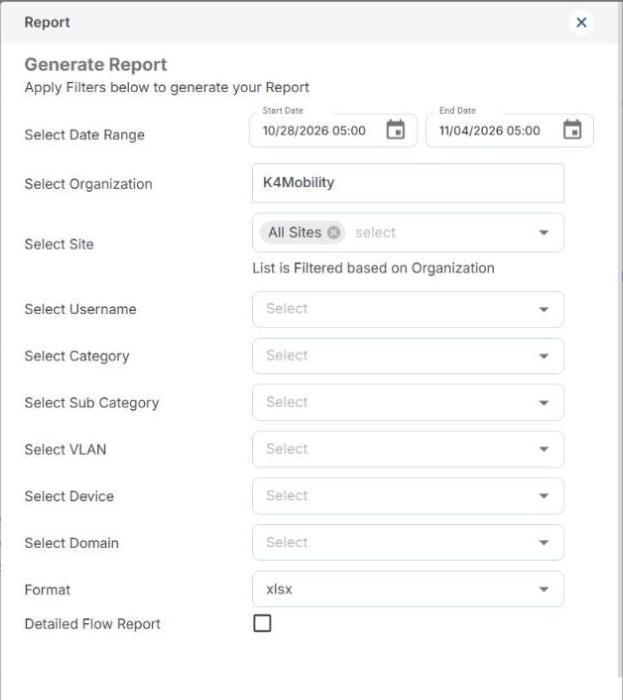
Click the Generate Report button to open the Generate Report dialog.
-
Select Date Range – select the Start Date and End Date (with time) using the date pickers. The currently selected period is filled in by default.
-
Select Organization – the organization selected on the Reports screen.
-
Select Site – select the sites (default All Sites). The list is filtered based on the organization.
-
Optionally narrow the report using Select Username, Select Category, Select Sub Category, Select VLAN, Select Device and Select Domain.
-
Format – select xlsx (default) or csv.
-
Detailed Flow Report – select this checkbox to also generate the detailed flow report.
-
Click Generate to start generating the report, or Cancel to close the dialog.
-
Open the Generated Reports tab to view the status of the report and download it once it is completed. See the Generated Reports page for details.